Setting Up and Maintaining Your Radio Studio: A Beginner’s Guide
Creating a radio studio is an exciting venture, whether you’re launching a podcast, hosting a community show, or pursuing professional broadcasting. A well-designed setup paired with consistent maintenance can ensure crystal-clear audio and a smooth operation. Here’s how to get started and keep your studio running like a dream.
The Essentials of a Radio Studio Setup
First, choose your space. A quiet room with minimal echo is ideal—think carpeted floors, soft furnishings, or even acoustic panels if you’re serious about sound quality. Size doesn’t matter as much as control over background noise, so avoid areas near busy streets or appliances.
Next, invest in a solid microphone. A dynamic mic, like the Shure SM7B, or a condenser mic, such as the Audio-Technica AT2020, are popular choices depending on your budget and recording style. Pair it with a sturdy stand or boom arm to keep it steady during broadcasts.
A good audio interface is your studio’s heart. It connects your mic to your computer and converts analog sound into digital magic. Brands like Focusrite or PreSonus offer reliable options for beginners and pros alike. Don’t skimp here—clean audio is non-negotiable.
You’ll also need headphones. Closed-back models, like the Sony MDR7506, prevent sound bleed and let you monitor your output without feedback. Add a computer with recording software—Audacity (free) or Reaper (affordable) are great starting points—and you’re nearly set.
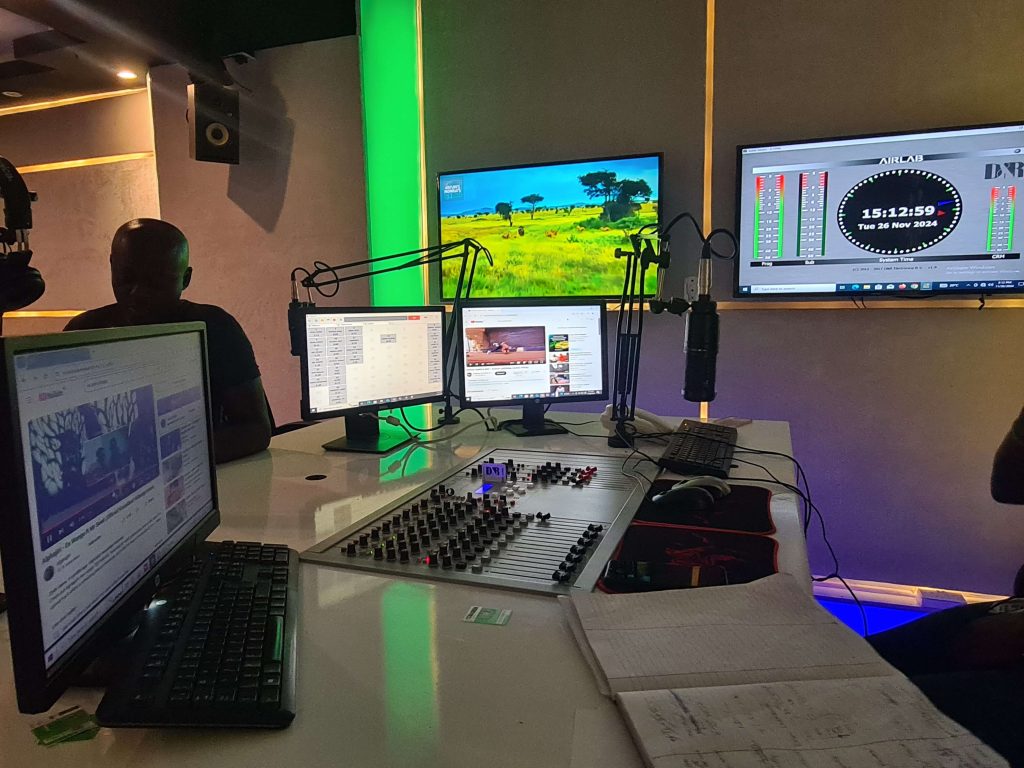
For live broadcasts, a mixer can elevate your game. It lets you control multiple inputs (mics, music, sound effects) in real time. A simple four-channel mixer from Behringer or Yamaha works wonders without breaking the bank. Finally, ensure a stable internet connection if you’re streaming—hardwired ethernet beats Wi-Fi for reliability.
Wiring and Layout Tips
Keep your setup ergonomic. Position your mic at mouth level, about a fist’s distance away, and angle it slightly off-axis to reduce popping sounds. Run cables neatly using clips or tape to avoid tripping hazards or signal interference. Test your setup before going live—record a sample, listen back, and tweak as needed.
Maintenance for Longevity
A well-maintained studio saves headaches and cash. Start with your mic: store it in a dust-free case or cover it when not in use. Avoid yelling directly into it—use a pop filter to shield the diaphragm from spit and breath blasts. Clean it occasionally with a soft, dry cloth; never use liquids near the grille.
Your audio interface and mixer need care too. Power them off when idle to prevent overheating, and keep vents dust-free with a can of compressed air. Check cables monthly for fraying or loose connections—replace anything suspect to avoid crackles mid-show.
Headphones can wear out fast. Wipe earpads with a damp cloth to remove sweat or oils, and store them flat or hanging to preserve their shape. For software, update your recording programs regularly to dodge bugs, and back up your files to an external drive or cloud storage.
Conclusion
Building a radio studio is about balancing quality gear with a practical space. Maintenance keeps it humming, letting your voice shine without technical hiccups. Start small, test often, and enjoy the ride—your listeners will thank you!